Having Trouble Drawing?
Sometimes we reach a point when our drawings become difficult because we do not understand the concept of what we are drawing. You know when you get to that point where you are erasing more than drawing. Your work table and floor become covered with eraser bits and debris.
This happens when we use a technique we may not be familiar with or have forgotten. For example the following drawing techniques are concepts that need to be learned and used over and over to fully understand: foreshortening, perspective, elliptical shapes, shading, objects in the distance, folds of fabric, etc.
Below I have listed a few suggestions to aid you in your pursuit.
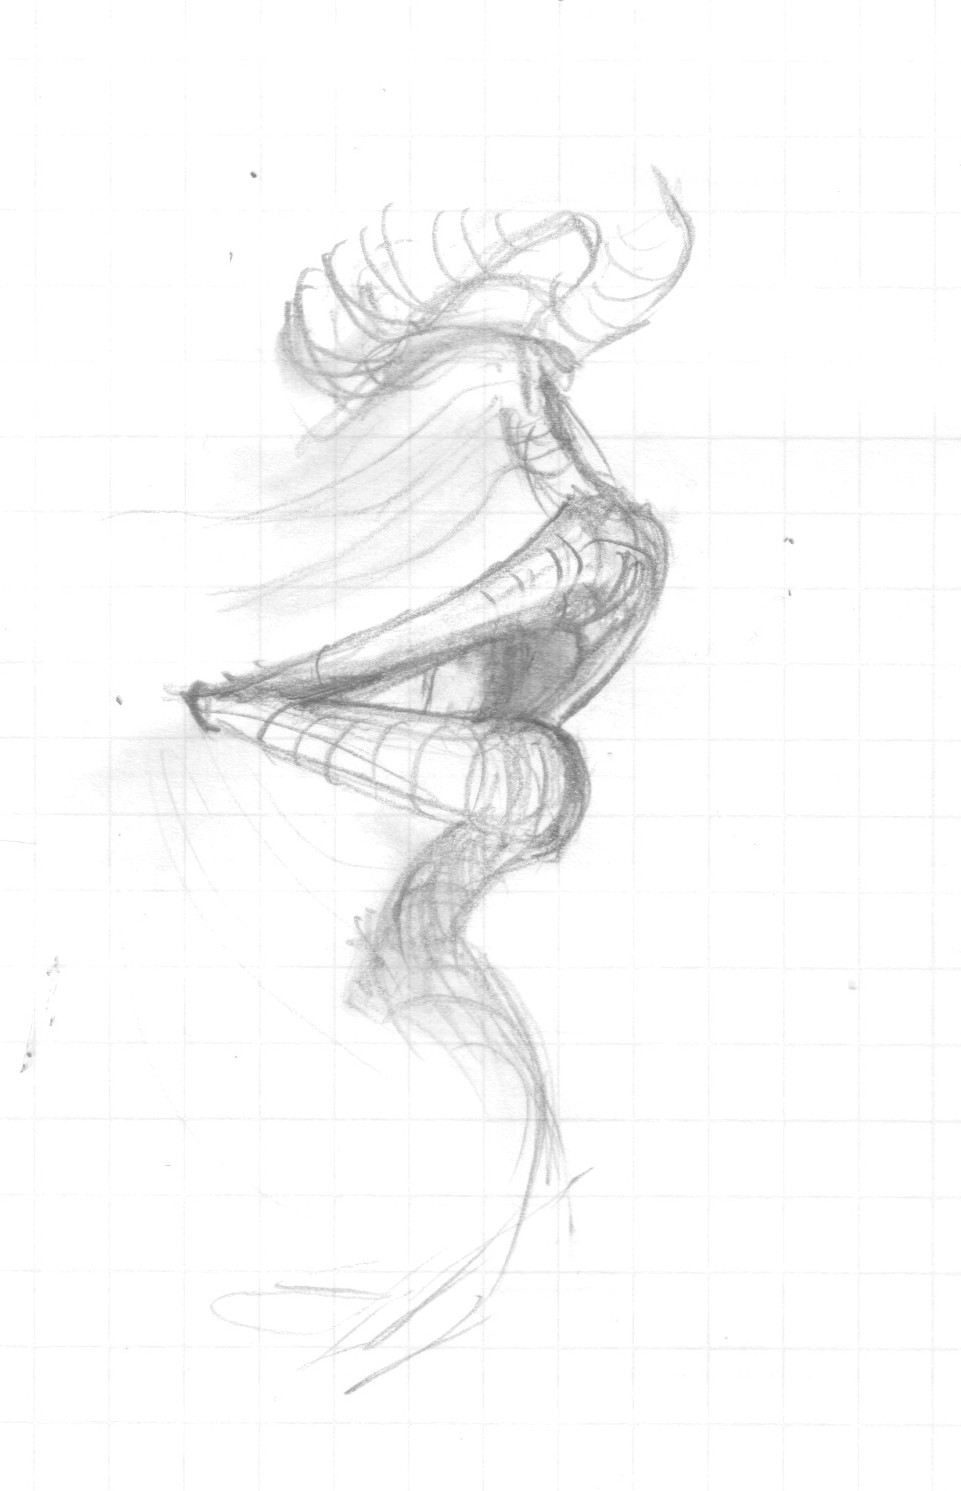
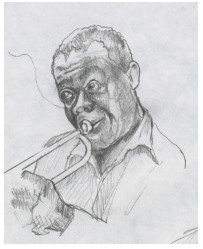
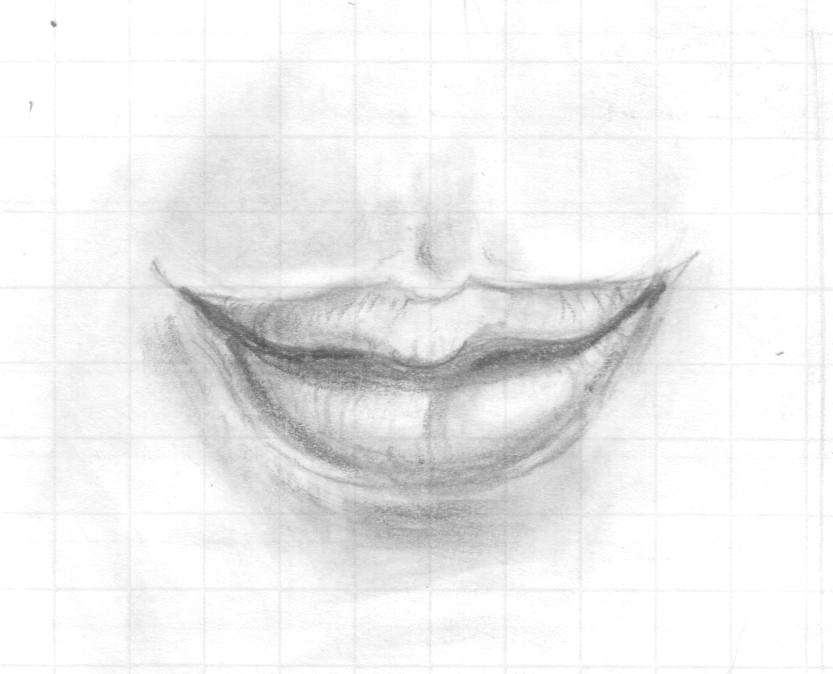
1. Block out the object in the most basic shape before you try to draw in the details. In fact, block out the entire drawing or painting, before the details are added. Certain facial features are difficult to capture such as noses. Rough-in everything before you began adding the details. Identify the shapes for your rough-in (circle, square, triangle, cylinder, etc.). Below I roughed-in the nose using triangular shapes.


2. Try drawing contour lines around the object or thing you are attempting if you can’t quite get the shape correct. That way you are establishing the sides, planes, and the shape.
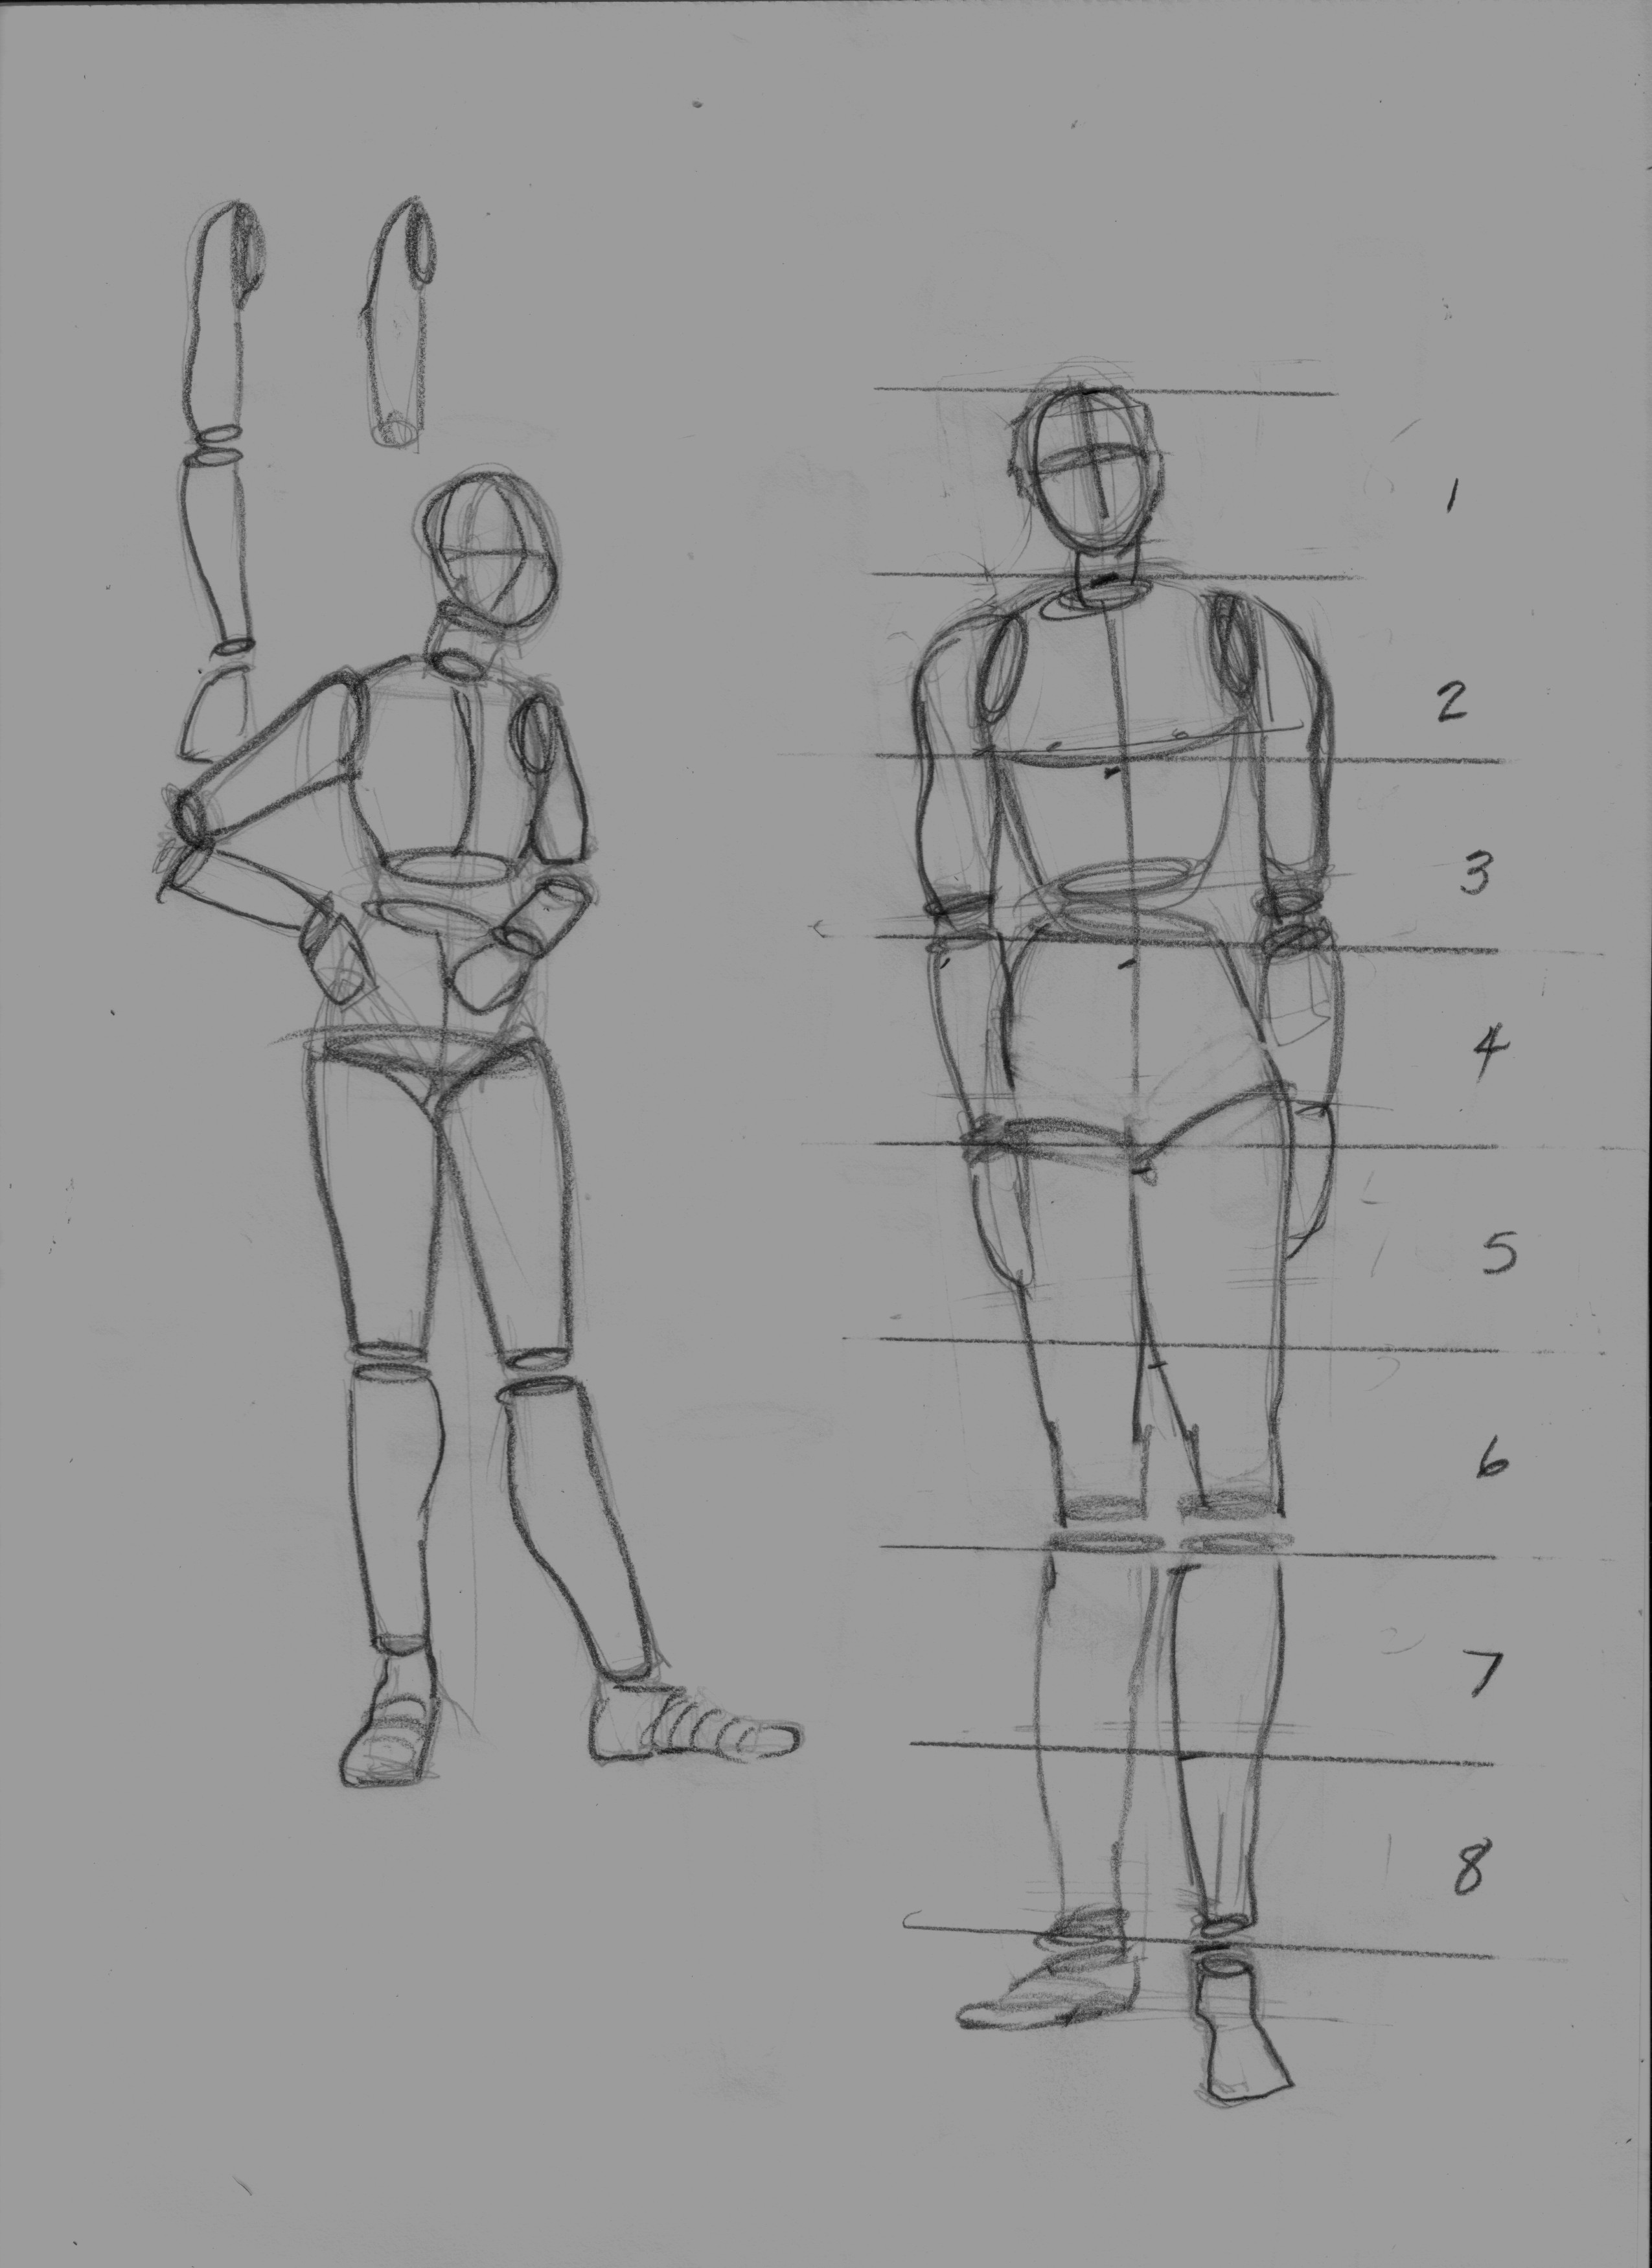
3. If you draw figures, understanding the proportions of the human figure are important, plus understanding that the limbs are cylindrical in shape. Here is a rough sketch I keep in my studio to remind me how the body can be divided into 8 equal sections.
4. Perhaps you are drawing something you need to learn more about. As an artist, I believe everything we attempt is a learning experience. Being an artist is like being a sponge, always absorbing knowledge.
5. Analyze the problem carefully. Identify the concept of what you are not grasping. Is it foreshortening, getting that three dimensional look, or shading? Identify it and read up on the subject. There is so much information on the Internet. The answers are just a click away.
6. If you are drawing from a picture and you have already stared at that picture for a long period of time and still cannot correct your drawing, turn the picture upside down. That way you won’t be looking at that same image in the same manner. With it upside down you will see something different, hopefully you will see what you failed to see in its upright position.


7. View your drawing in a mirror. For some reason that really works because you are seeing the image differently in the mirror. The mirror view will tell you if your drawing is symmetrical, balanced, or if it is poorly drawn.
8. Put the drawing away and wait a day. I do this on everything. What a difference a day can make in what you see.
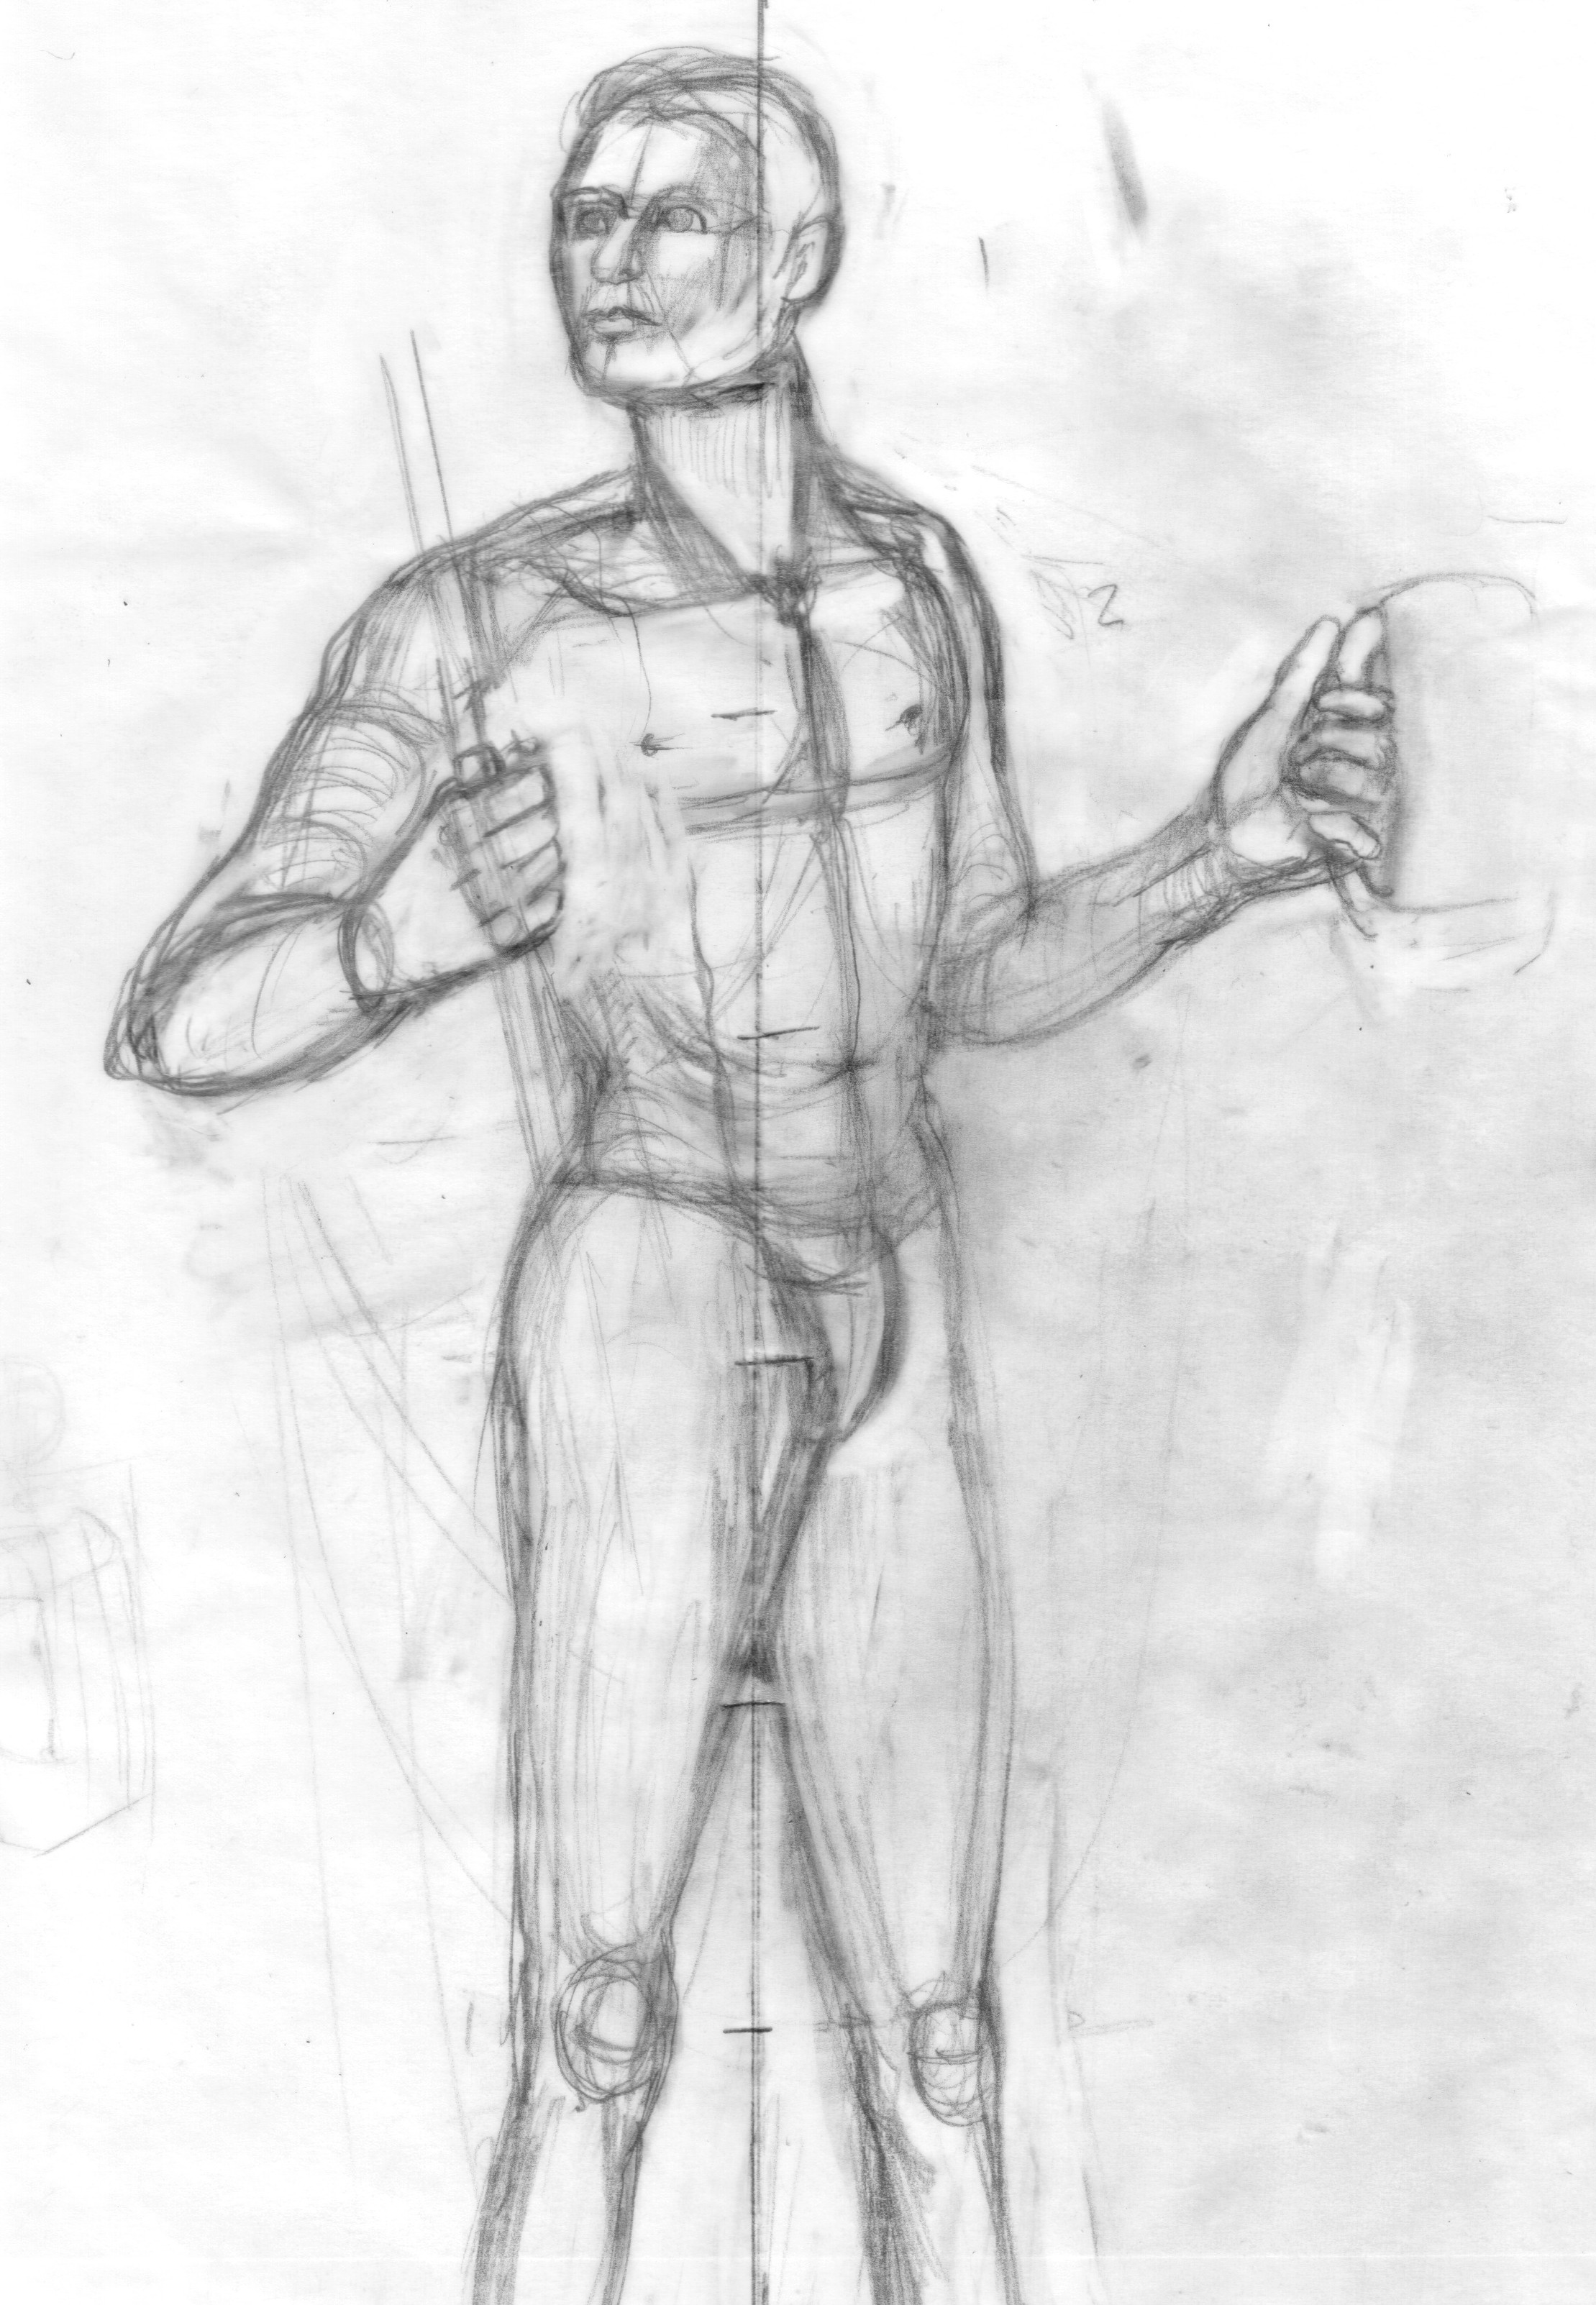
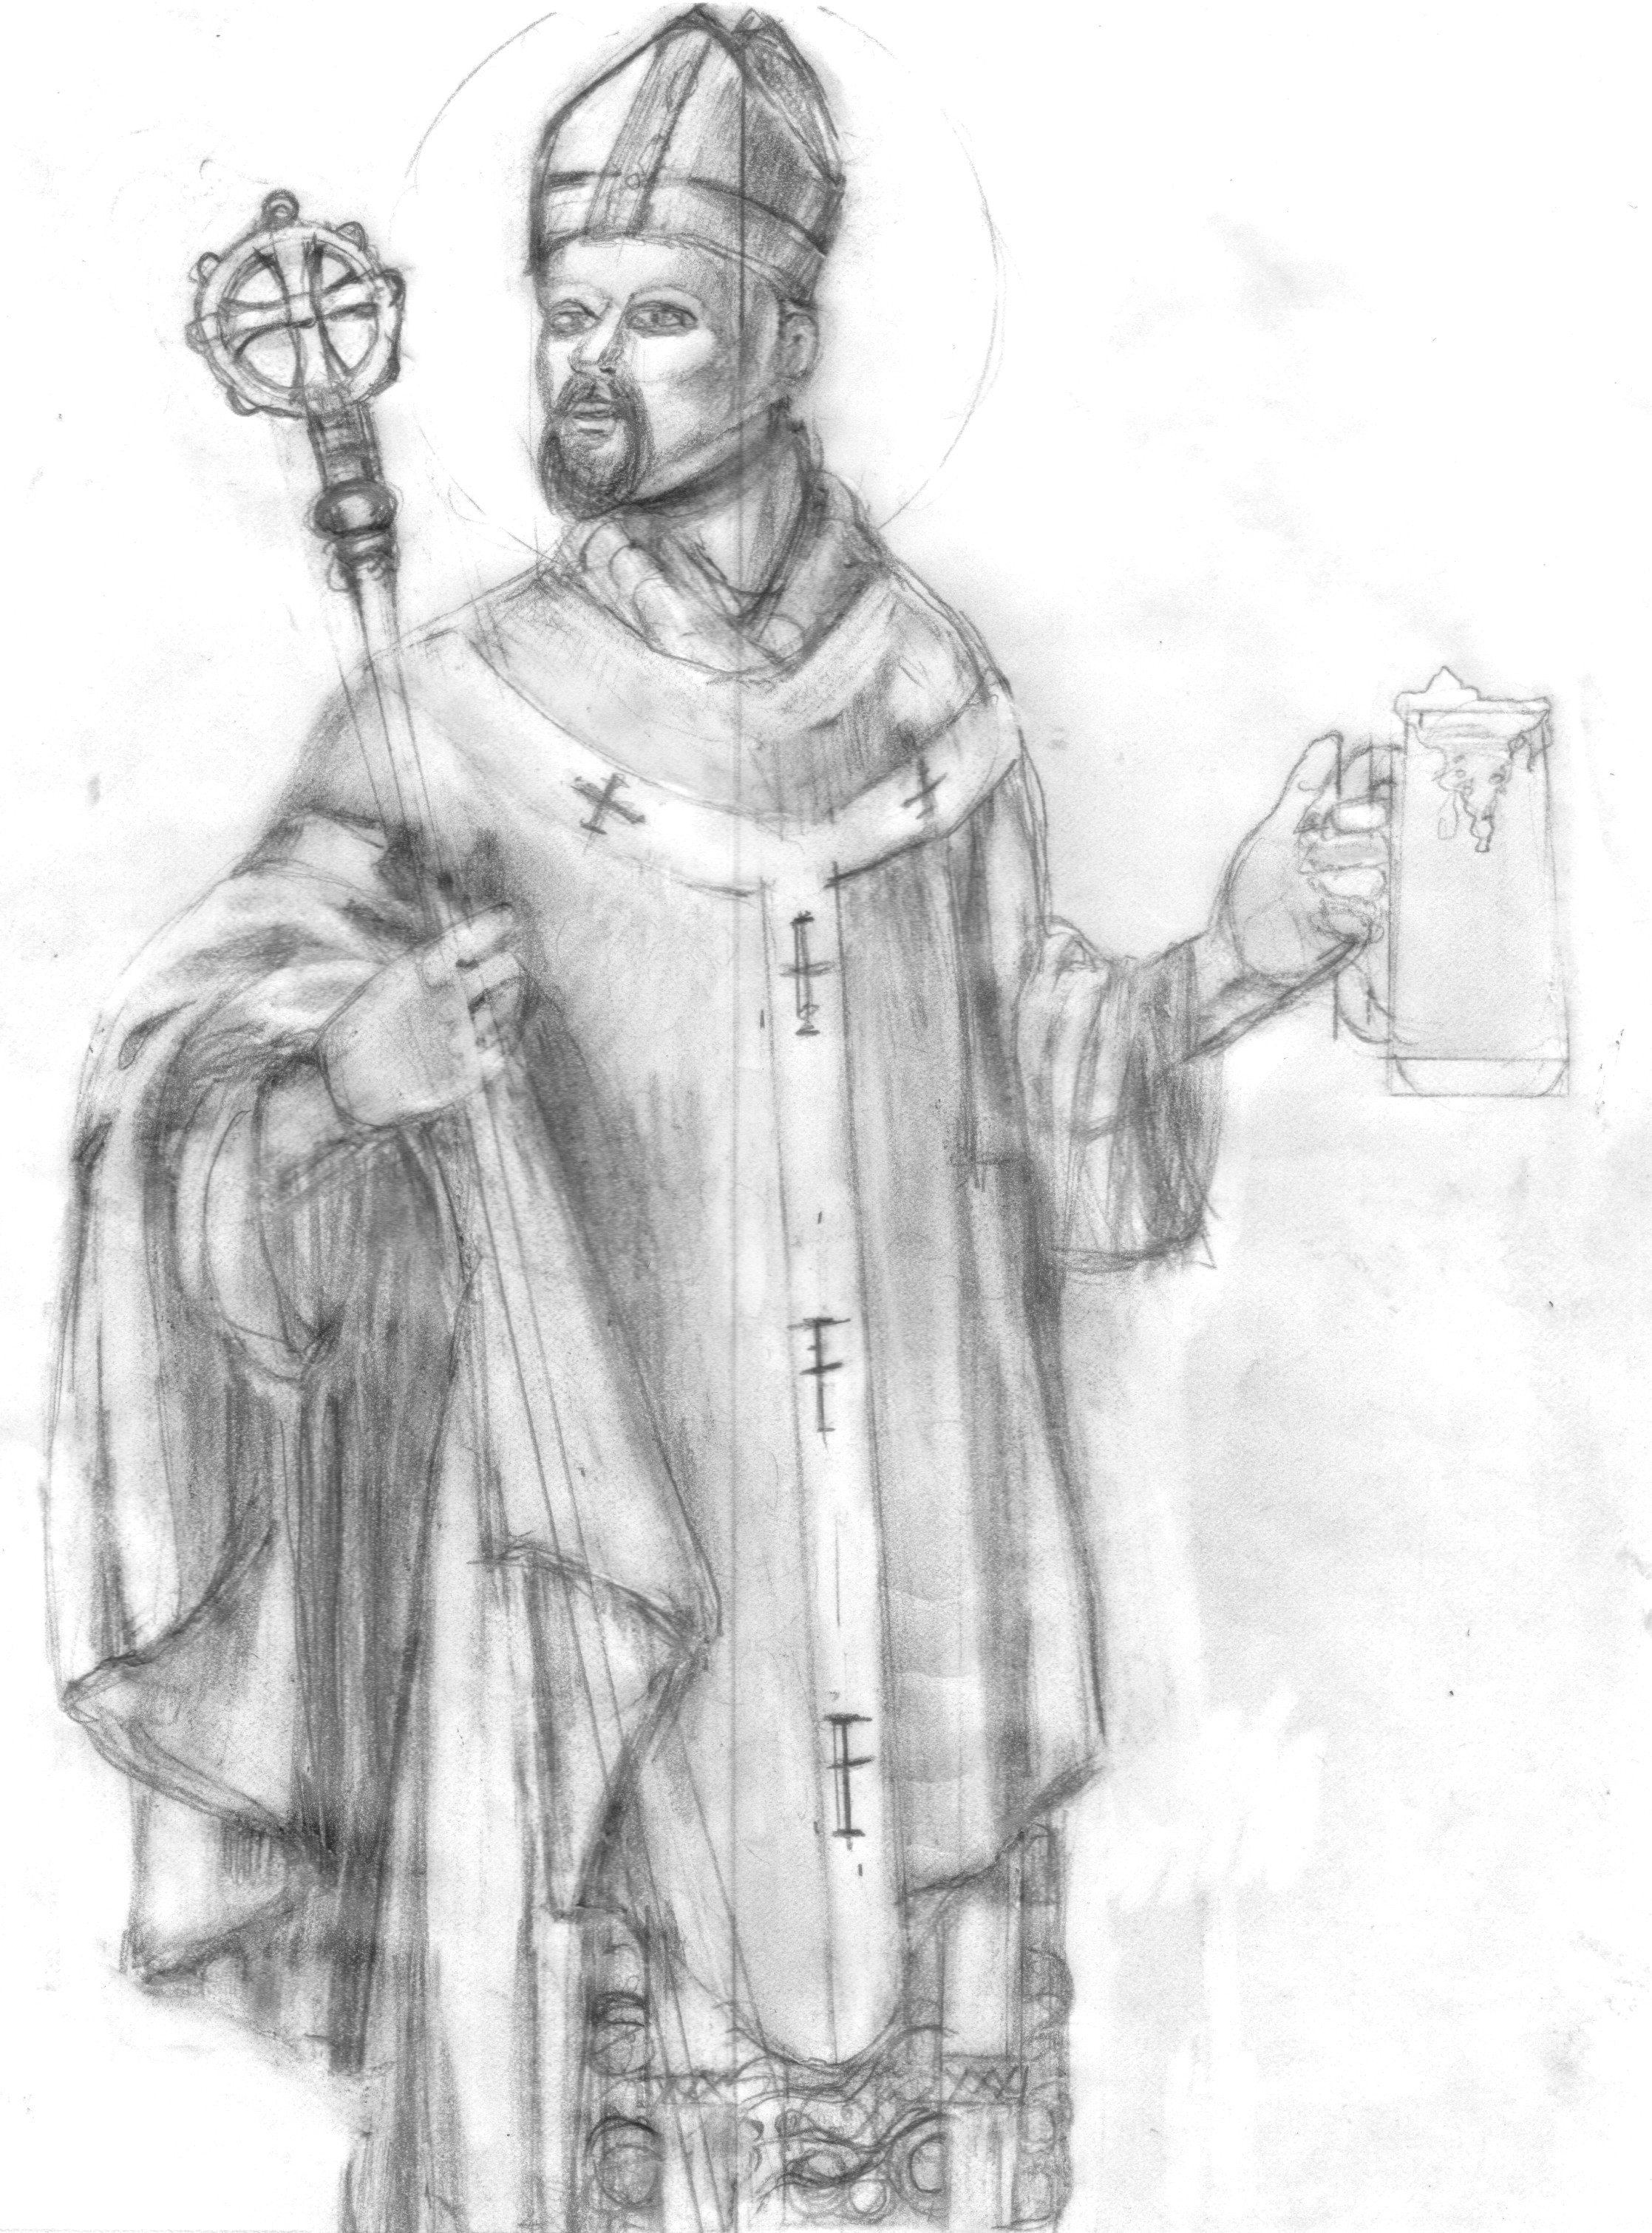
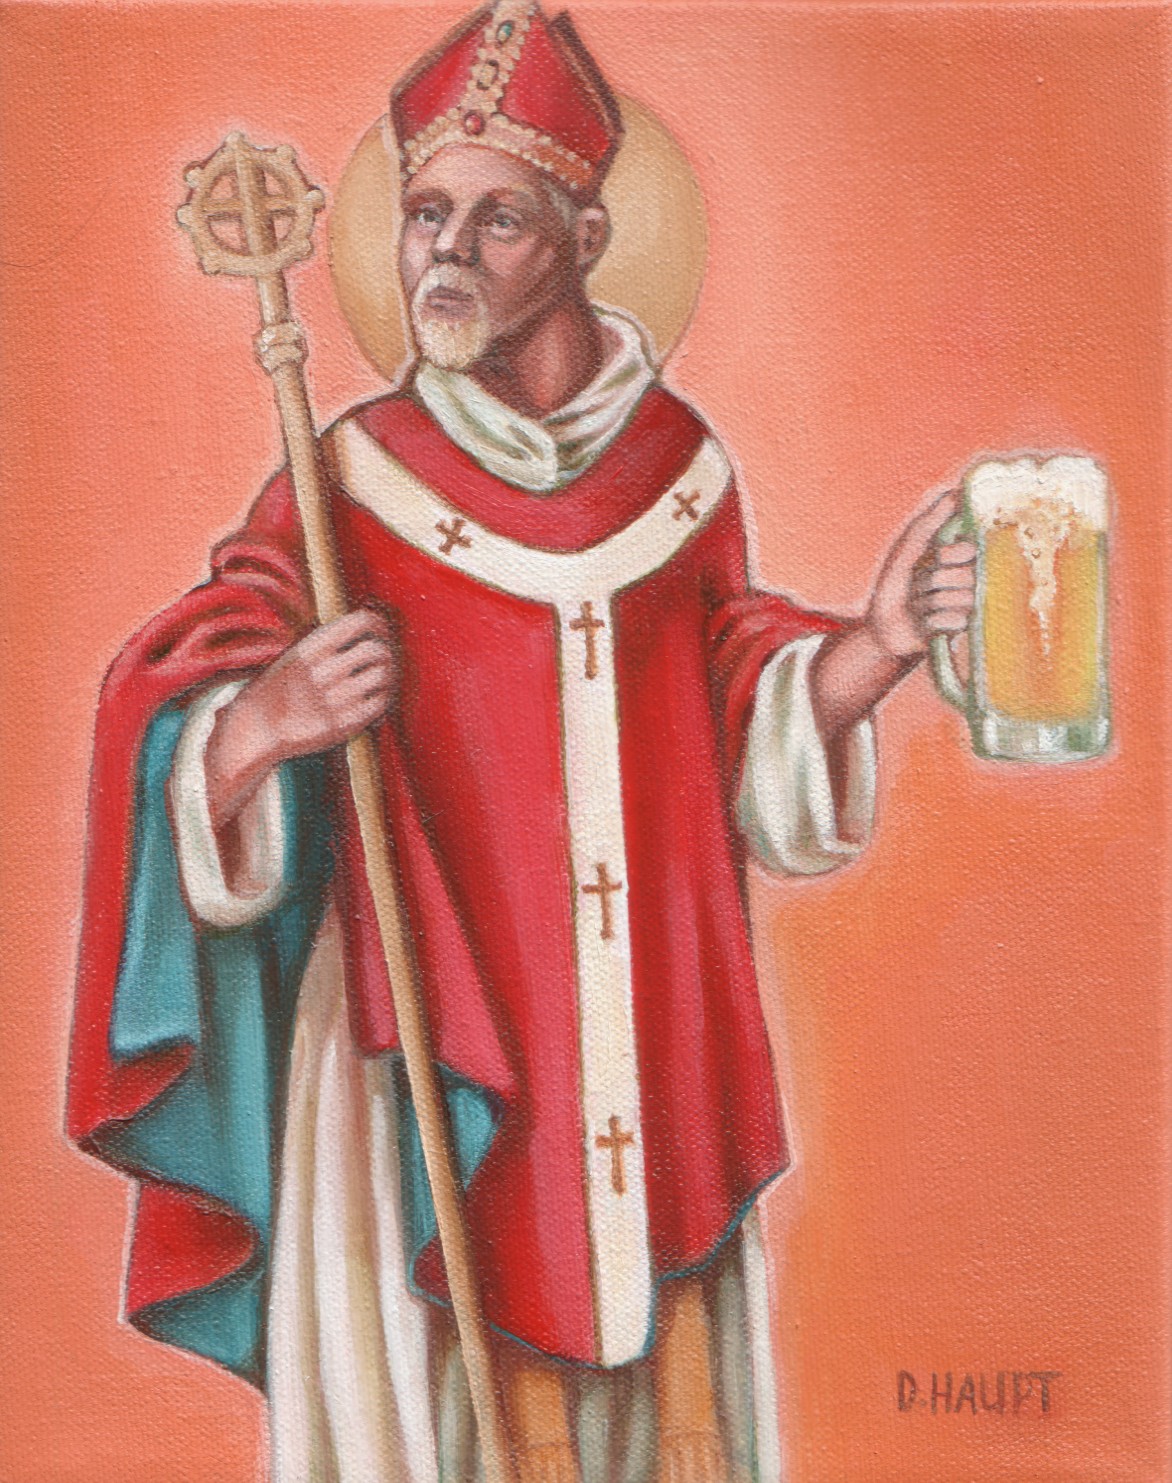
9. If you are drawing the anatomy, draw the nude image first. That helps you focus on the size of your figure and its pose. It also helps you realize that the body is not flat, the limbs are cylindrical. The neck is cylindrical and sits on a chest that is square in shape and has thickness and volume. It helps you establish the tilt of the hips and shoulders, and position of the legs. After you draw the nude figure, then dress the nude figure. Then you can focus on how the fabric drapes on parts of the body; how it falls around the neck and shoulders, drapes from folding arms, and falls from the waist line. When I did my preliminary sketches on St. Arnold of Metz I started with the nude figure first.
10. Are you are having difficulty drawing the hair, the eyes, the mouth, etc? Take a break and analyze how the masters did it. Study their technique and identify what they did to make it look successful.
11. And do collect books and acquire a library of books on basic drawing techniques and images of works done by the masters. With an available library, a month from now if you forgot something, you are likely to know where to find the answers.
12. Are you having difficulty making something stand out, look dimensional and molded, perhaps you have forgotten some basic drawing principals. Read up on how light and shadow fall on the basic shapes like the sphere, circle, cylinder, and square. Everything can be broken down into basic shapes and the principal of how light and shadow appear on the shapes give it that dimensional quality.


13. Use the proper tools for drawing and painting. Don’t skip on quality or it will make your effort difficult.
14. If you draw in pencil, be sure to own a set of pencils of assorted degrees for a wide range of tonal values. There is nothing more satisfying than making a drawing more visually appealing by being able to take a 6-B or 8-B graphite pencil and hit those dark areas.
15. Great tools to have are those stumps for shading. I also suggest having on hand a variety of erasers. I love how the kneaded erasers can be shaped and used to pull out small areas of highlights.
I hope these suggestions are helpful. I wish you satisfaction and success in all that you do!